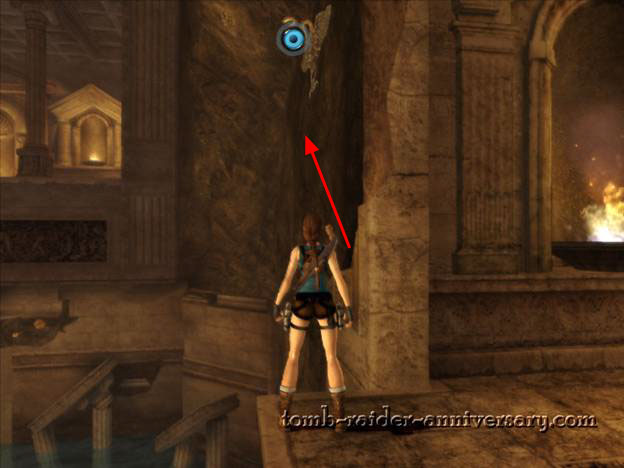
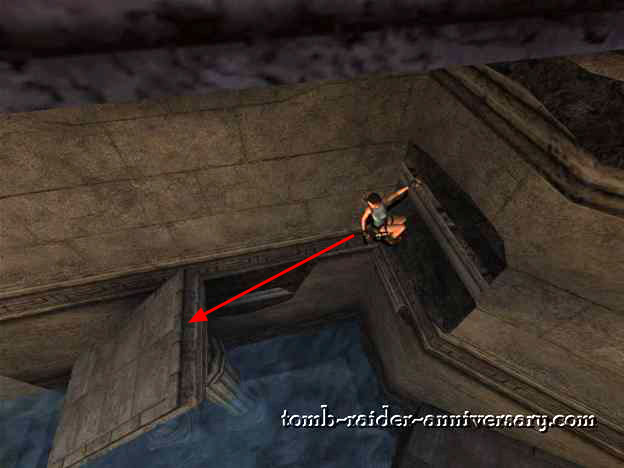
After you flipped the first switch, you can use the grapple on the wall to the right.
Use the ledges to get to to the sliding slope.
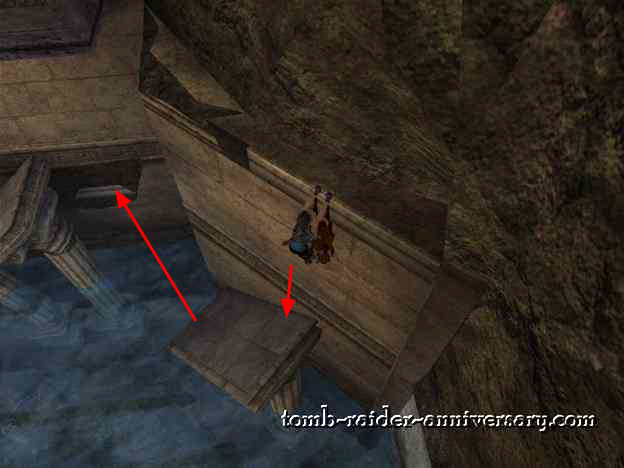
Make sure you do a second jump as soon as Lara starts to slide.
Jump towards the ledge on the right.
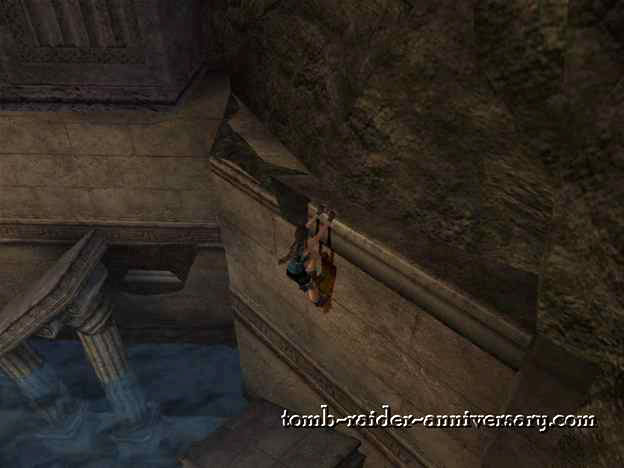
And then a jump to the second slope. Like before, make sure you jump quickly when you start to slide.
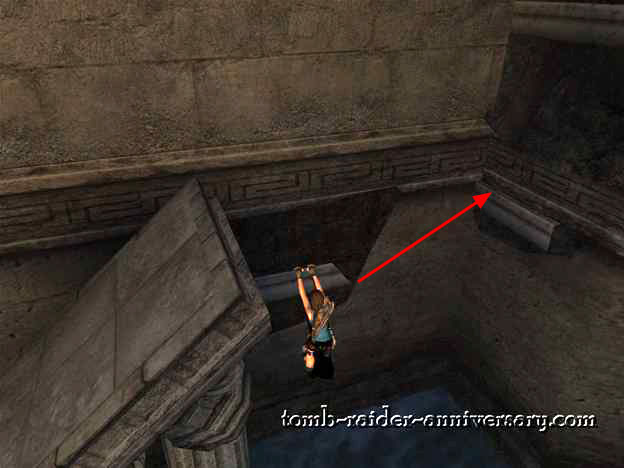
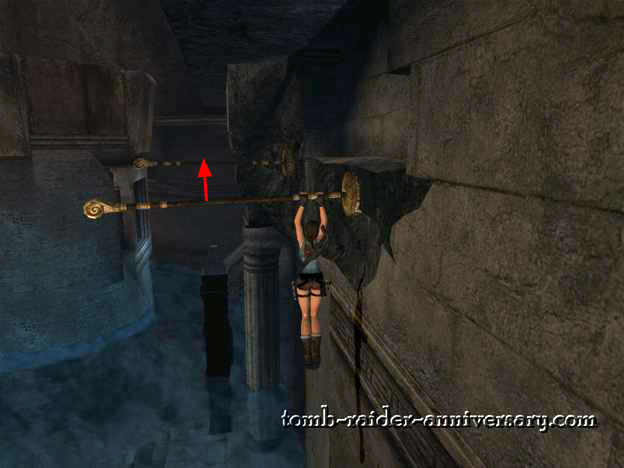
Swing on the two poles and then get ready for some vertical poles.
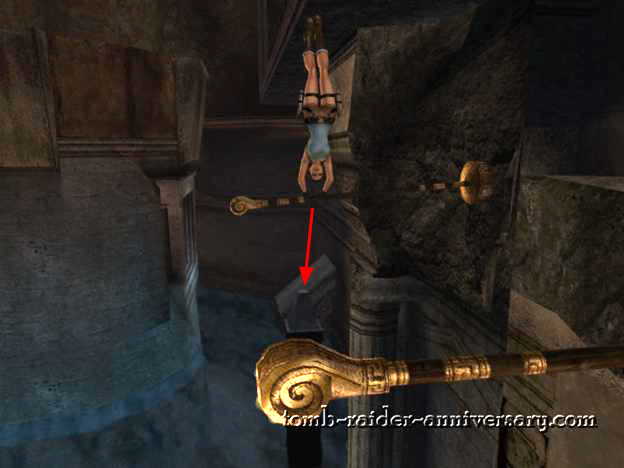
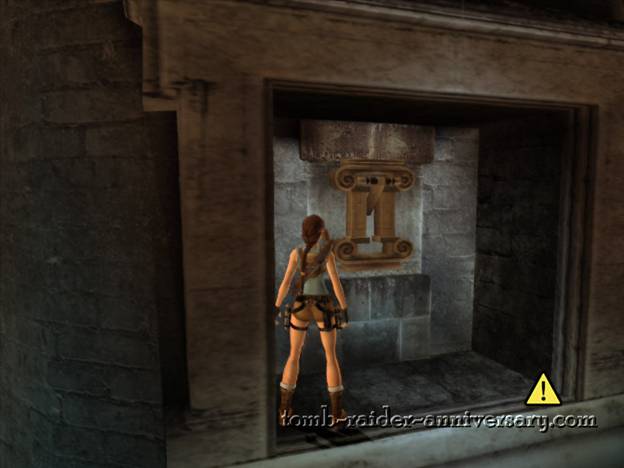
Jump to the last slope and then into the enclosure. Phew, that was hard.
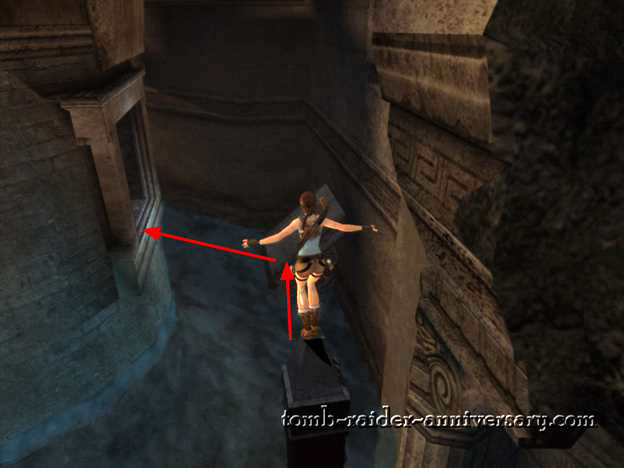
However, the hard part has just begun. Inside the enclosure, you'll find a switch. Flip it and the column will rise some more, revealing the relic.
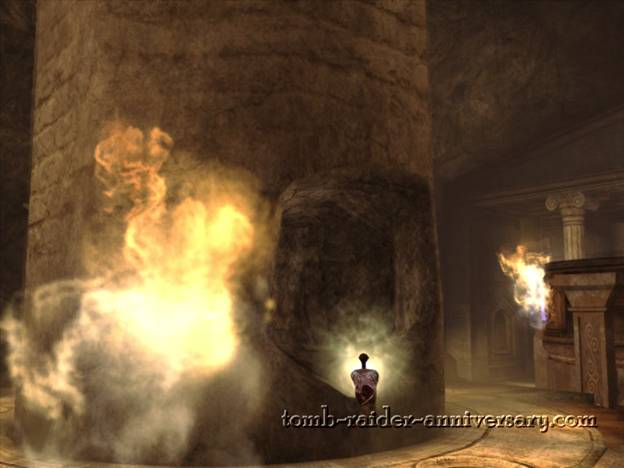
You have 90 seconds to swim back to the start, then get to the column. You will need to jump through fire, so just make sure you do this really really fast, use as many health supplies as you need.
Well, you might not get this from the first, so I suggest you make a savegame right after you flip the switch and reload (don't forget to pull the switch AGAIN when you load).
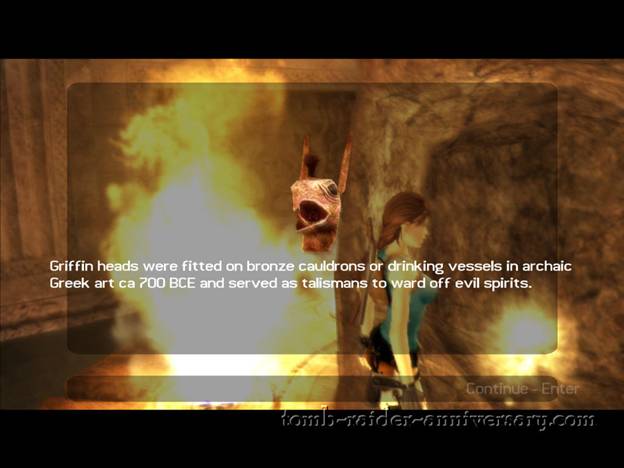
But in the end you should have the Griffin-Head Protome relic.
« Artifact #1 | Relic #2 »